einszwovier: vogelvilla
By Aron Petau and Friedrich Weber Goizel • 4 minutes read •
Course Profile
| Course Title | Vogelvilla: Luxury Laser-Cut Birdhouses |
| Duration | 3-4 days 3-4 × 180 min) |
| Target Group | 9th grade and up (ages 14+) |
| Group Size | 8-10 students |
| Location | School makerspace with laser cutter access |
| Equipment | Xtool S1 laser cutter, plywood (A3 sheets), waterproofing materials |
Skills Trained
- Digital Fabrication: 2D CAD design in TinkerCAD and Xtool Creative Space, understanding laser cutter capabilities and limitations
- Material Optimization: Efficient sheet layout, minimizing waste, working within material constraints (3 A3 sheets per birdhouse)
- Engineering & Design: Joint systems, modular design principles, reversible assembly, structural considerations
- Woodworking: Laser cutting techniques, wood finishing, waterproofing and weatherproofing
- Collaborative Making: Group projects, shared problem-solving, design iteration based on material feedback
Vogelvilla
After our first course, löten und leuchten, the next idea was to create a format for the laser cutter. We were targeting older kids this time, from the year 9 on up. We looked up on 3Axis.co for inspiration and it seemed important to both of us that we would be able to create something large and useful. So a groupwork project seemed ideal and we settled on birdhouses pretty quickly.
At the space, we have a pretty large and powerful Xtool S1, which is capable of cutting up to 10mm plywood.
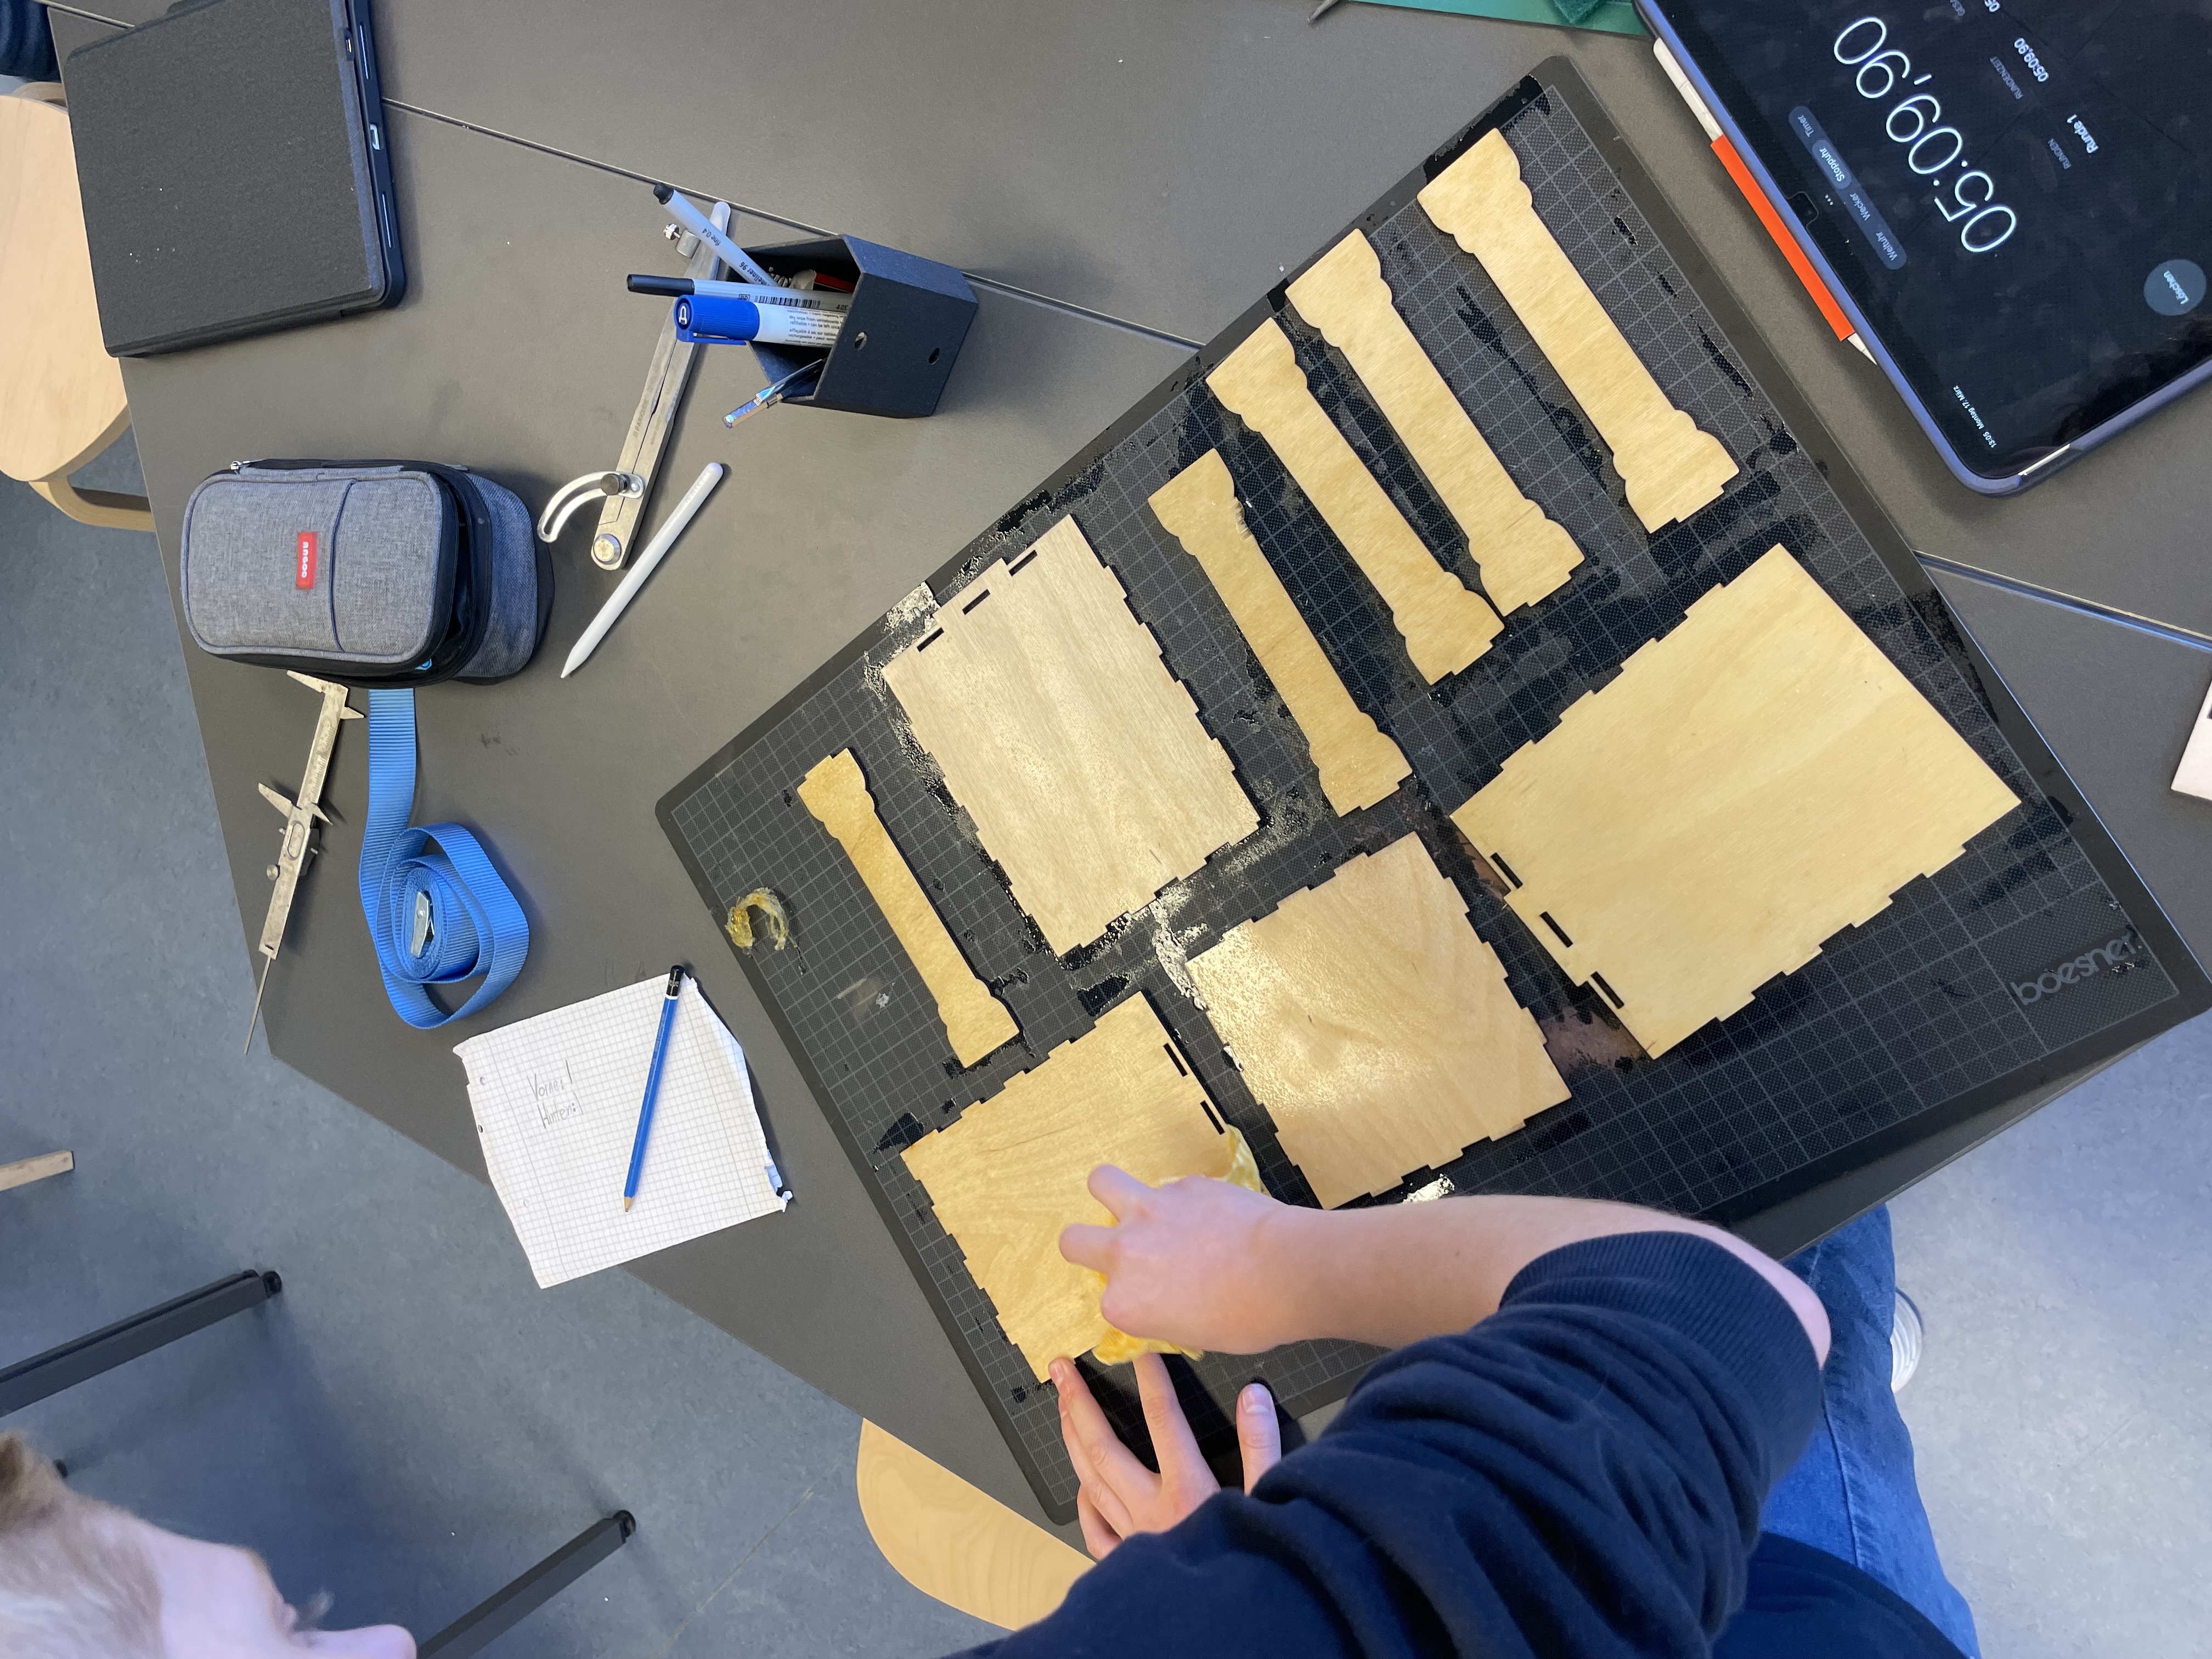
But a birdhouse, with all its sides, ends up using quite a bit of material, sowe spent quite a bit of prep time optimizing the base design so one hous can be made using only 3 A3 sheets of plywood.
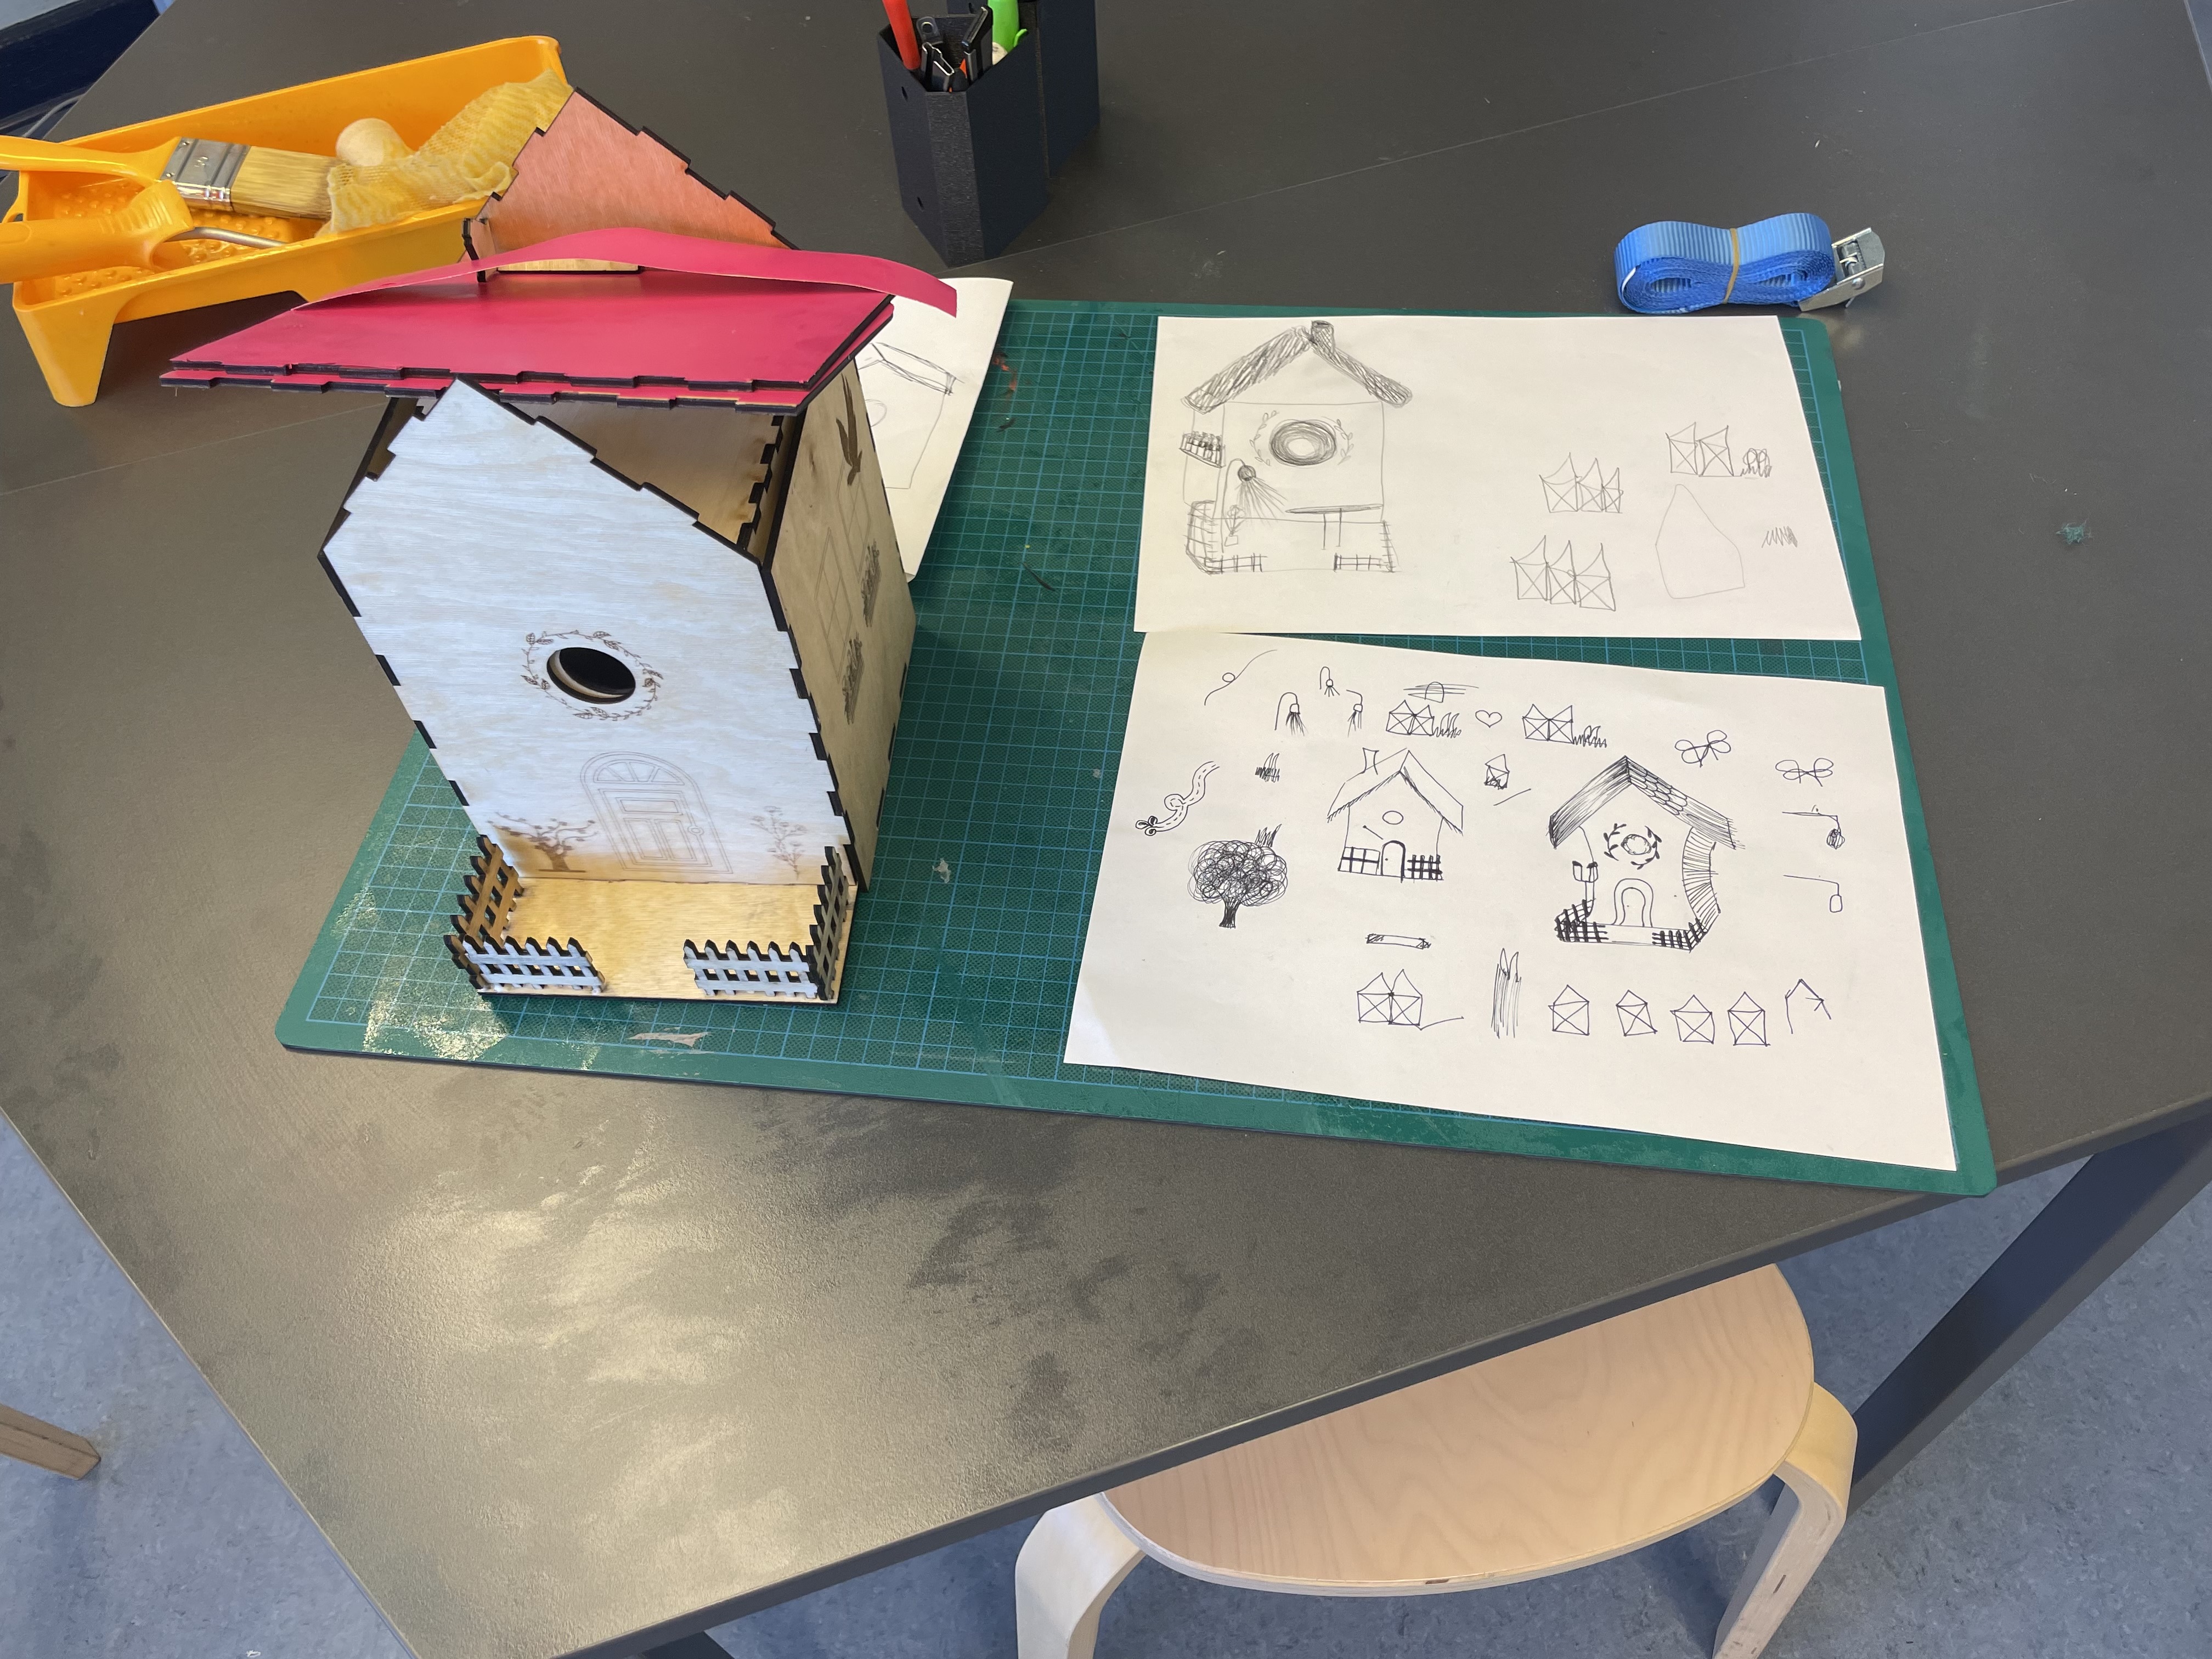
We invented a joint memory game, to incentivize thinking about all the larger possibilities of the laser cutter. During their own process, the kids found out for themselves the pros and cons of modular or reversible design and were designing their own birdhouses entirely in Tinkercad and Xtool Creative Space. We also had a lot of fun with the laser cutter, and the kids were able to create their own designs and engravings.
We laid out the course for 3 days again, but slightly underestimated the time necessary for larger cuts end engravings. We were unable to finish the birdhouses in time on day 3, with each only needing less than an hour or so for waterproofing and finishing touches. Next time, we would make this a 4 day course :) Despite not completely finishing, the feedback was good again and apparently provided a solid entryway into 2D Sheet manufacturing and Lasercutting. A big shoutout also goes out to our new favourite site, Boxes.py for providing a ton of amazing parametric files that gave great easy inspiration especially in jointing options for the kids.
Workshop Workflow
The workshop follows a structured process from research to installation:
%%{init: {'theme':'base', 'themeVariables': {'primaryColor':'#006994','primaryTextColor':'#fff','primaryBorderColor':'#004d6b','lineColor':'#ff1493','secondaryColor':'#ffd700','tertiaryColor':'#fff'}}}%%
graph TB
    Start([Start Workshop]) --> Research[Research Bird Species
NABU Materials]

    Research --> Sketch[Paper Sketching
2D & 3D Views]

    Sketch --> Inspiration{Find Design
Inspiration}
    Inspiration -->|Online Resources| Online[Browse 3Axis.co]
    Inspiration -->|Joints & Techniques| Boxes[Explore Boxes.py
Jointing Options]

    Online --> Design[Digital Design
Xtool Creative Space
on Student iPads]
    Boxes --> Design

    Design --> Layout[Create Layout
Engravings + Cuts
3 A3 Sheets]

    Layout --> Laser[Laser Cutting
Xtool S1]

    Laser --> Clean[Clean Wood Burn
Remove Residue]

    Clean --> Finish{Finishing}

    Finish --> Oil[Apply Leinöl
Wood Treatment]
    Finish --> Waterproof[Waterproof Roof
Weather Protection]

    Oil --> Assembly[Final Assembly]
    Waterproof --> Assembly

    Assembly --> Hang[Hang Birdhouse
Installation]

    Hang --> End([Project Complete])

    style Start fill:#006994,stroke:#004d6b,color:#fff
    style End fill:#006994,stroke:#004d6b,color:#fff
    style Research fill:#ffd700,stroke:#ccac00,color:#000
    style Sketch fill:#ffd700,stroke:#ccac00,color:#000
    style Design fill:#ff1493,stroke:#cc1075,color:#fff
    style Layout fill:#ff1493,stroke:#cc1075,color:#fff
    style Laser fill:#ff1493,stroke:#cc1075,color:#fff
    style Hang fill:#006994,stroke:#004d6b,color:#fff
To be continued...
-
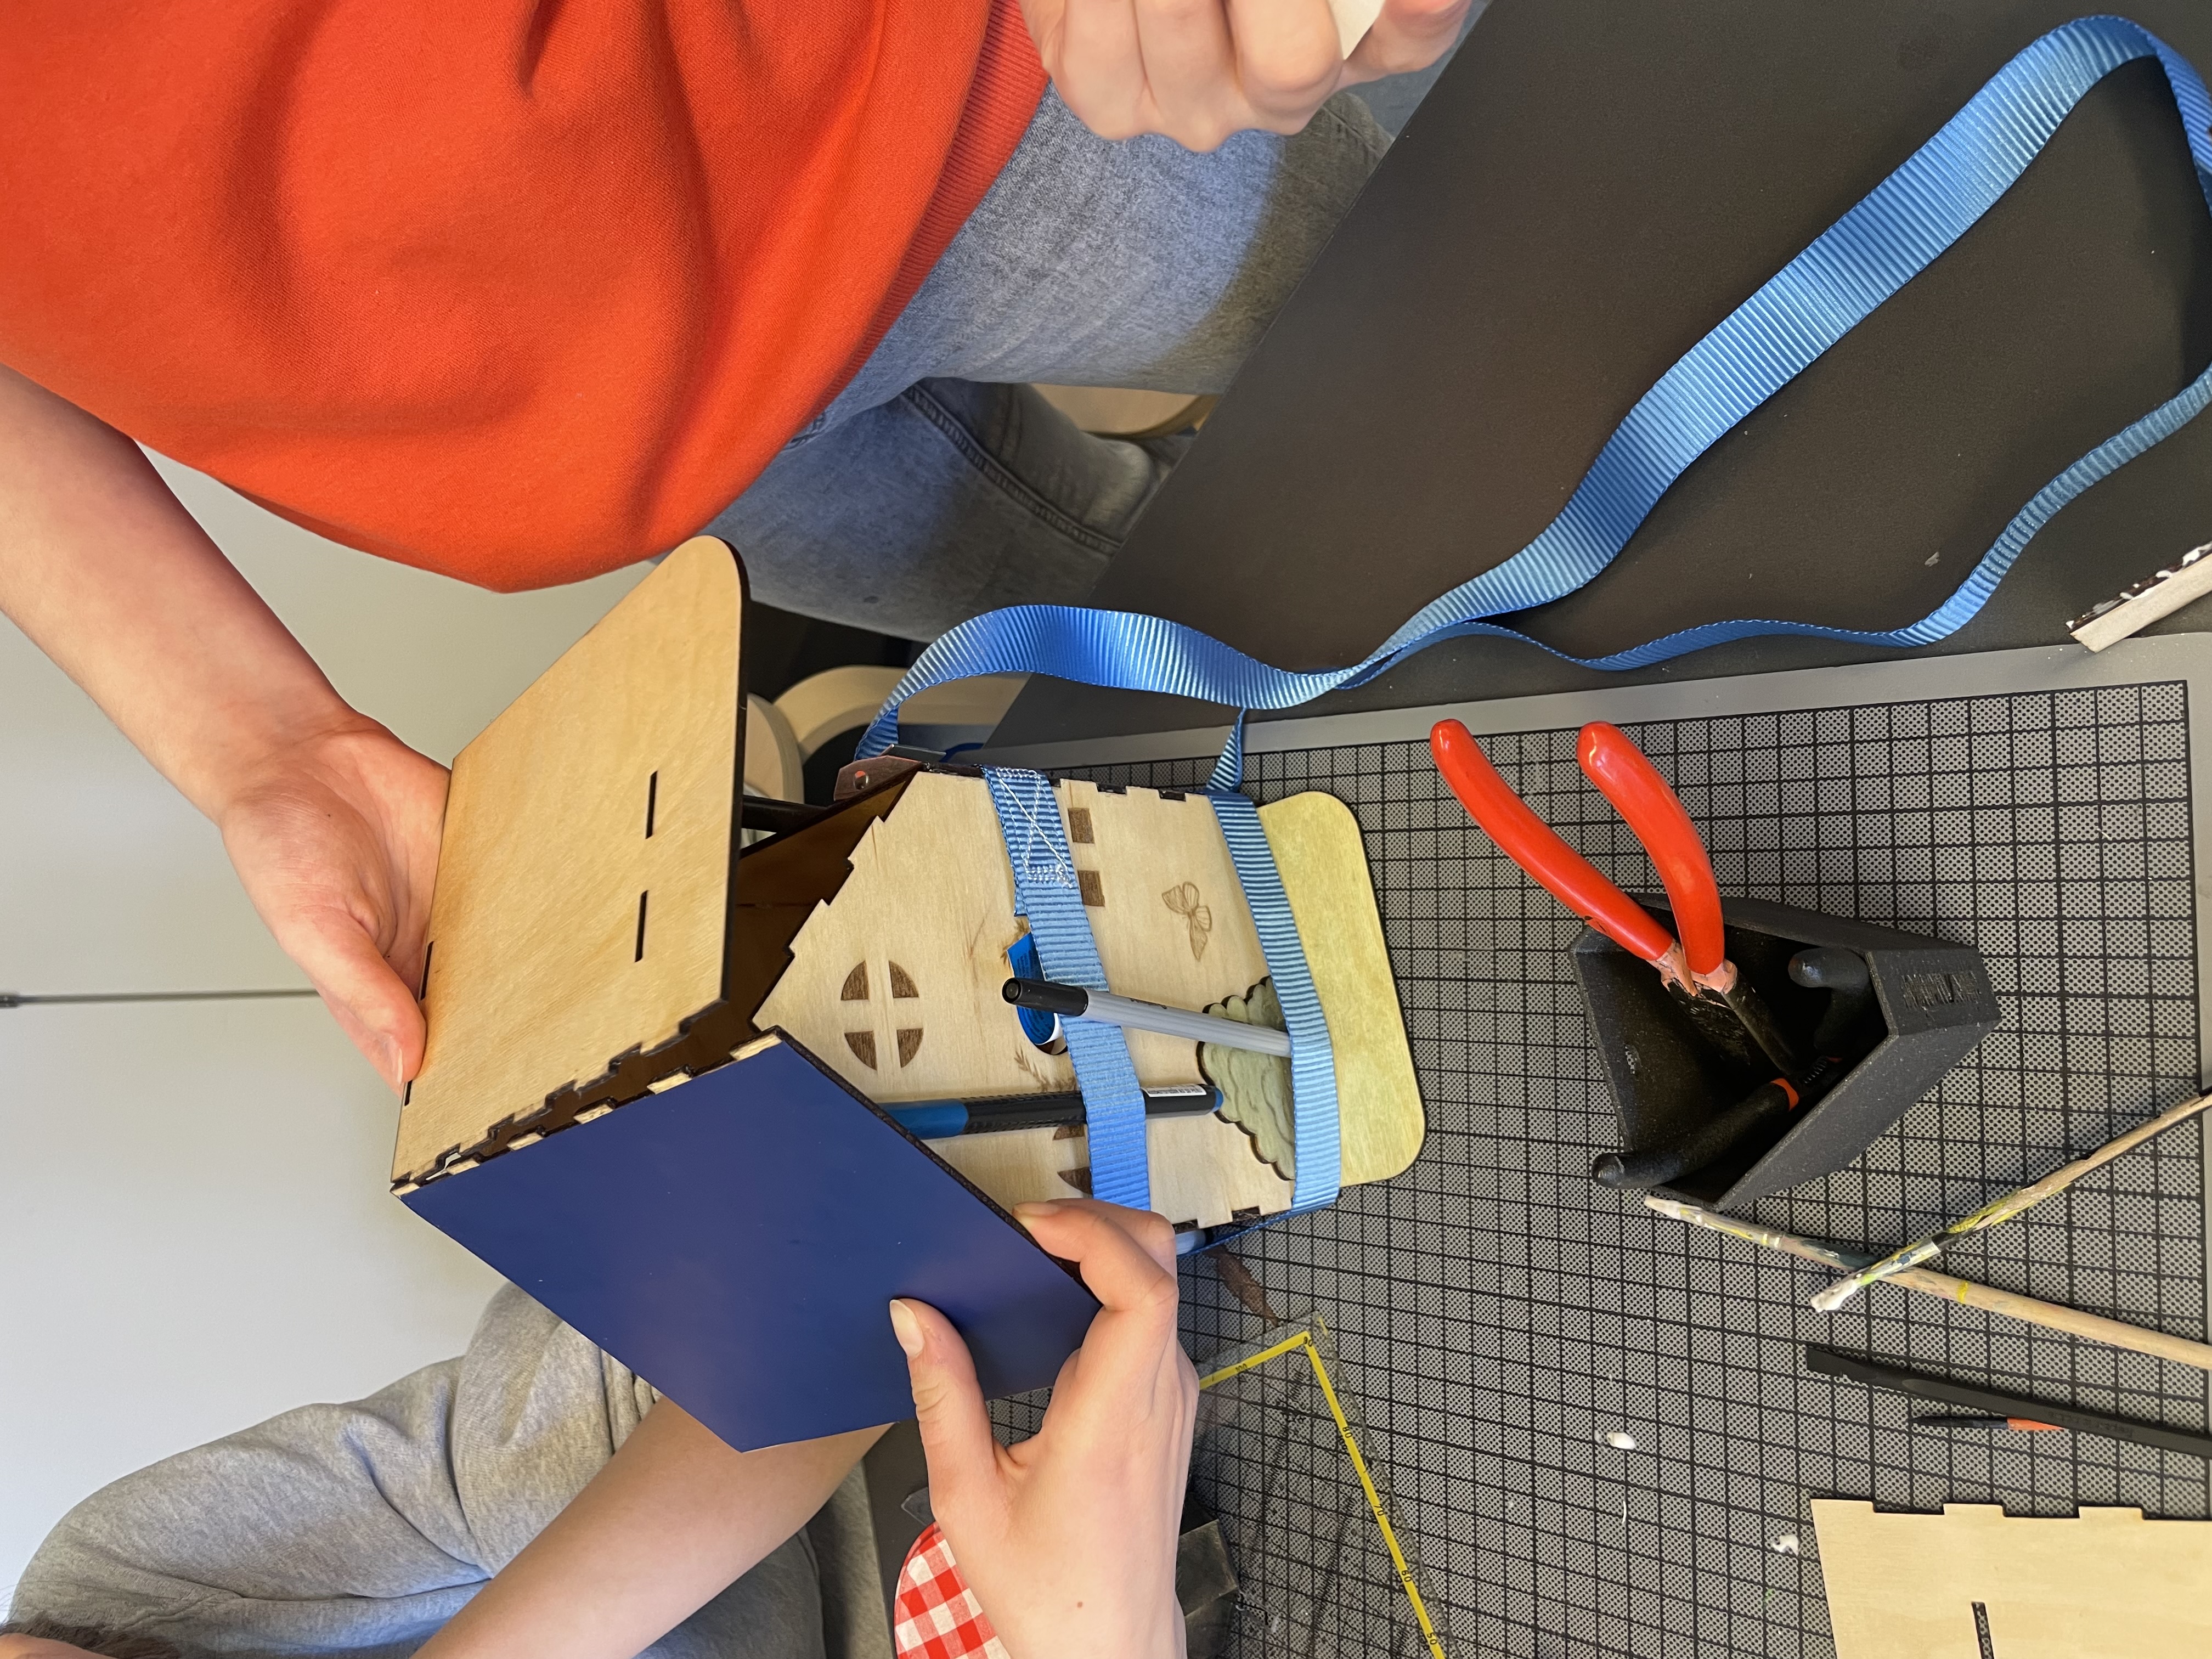
Test fitting laser-cut birdhouse panels
-
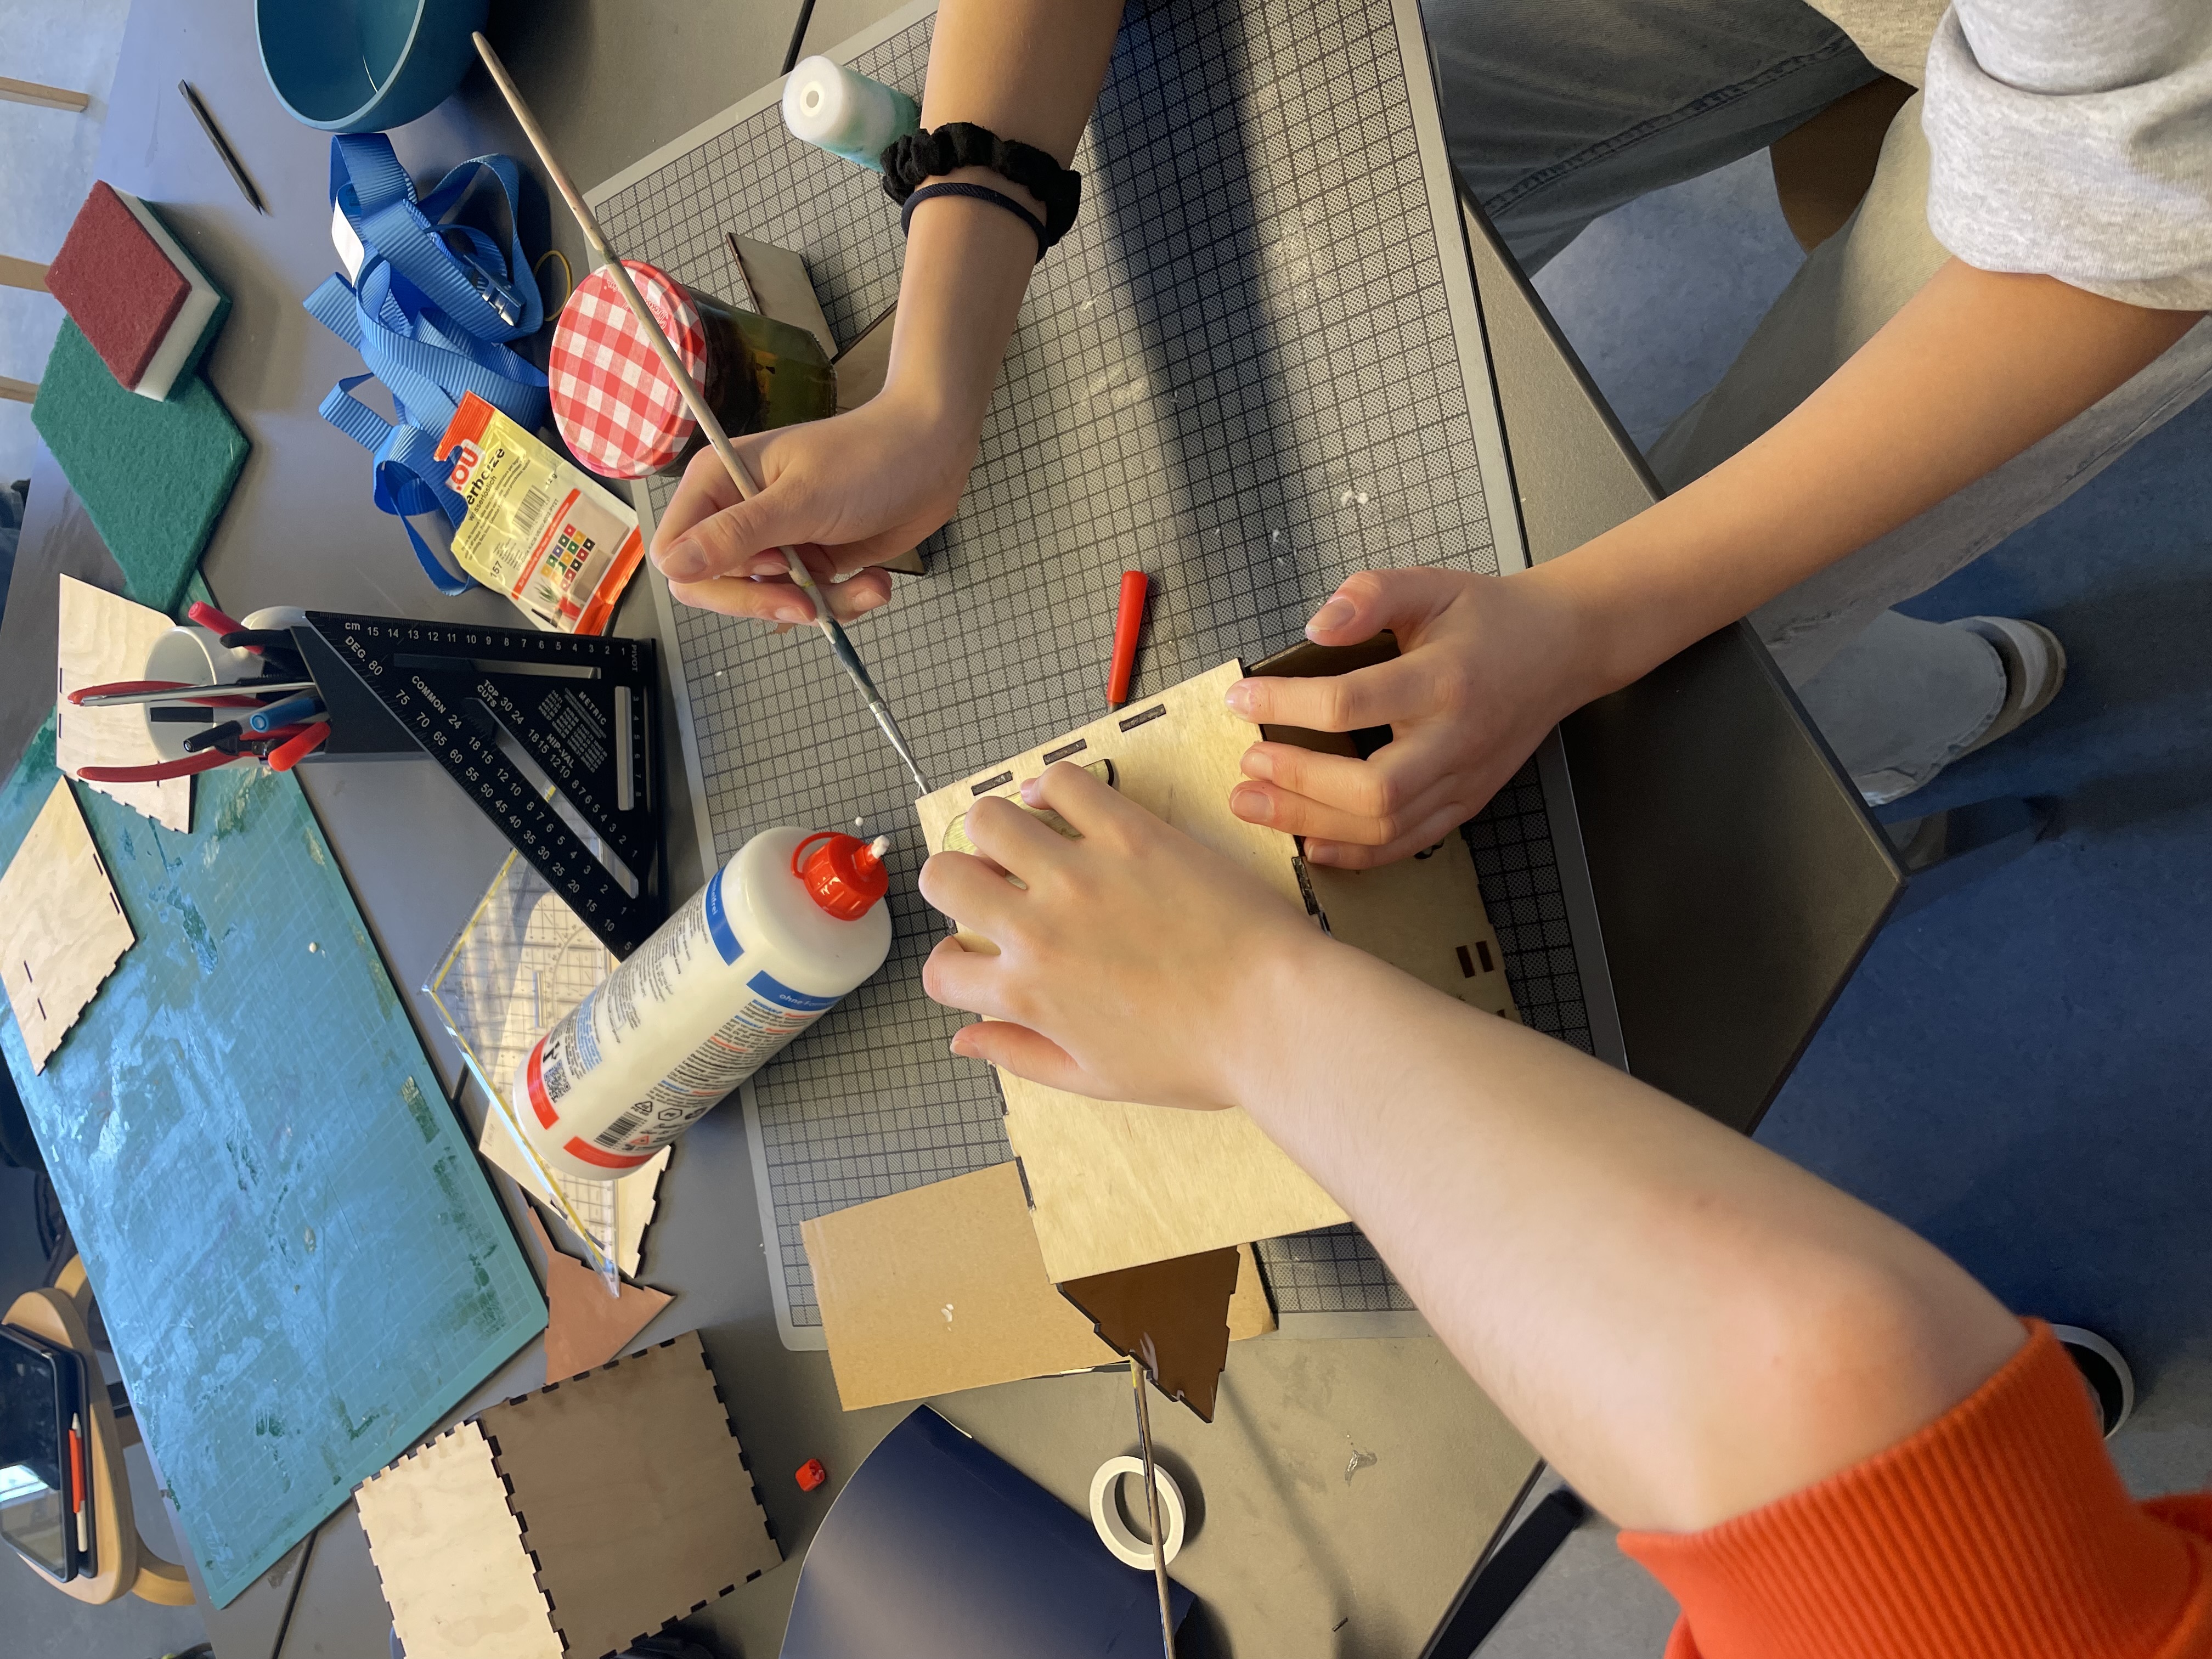
Preparing materials for birdhouse assembly
-
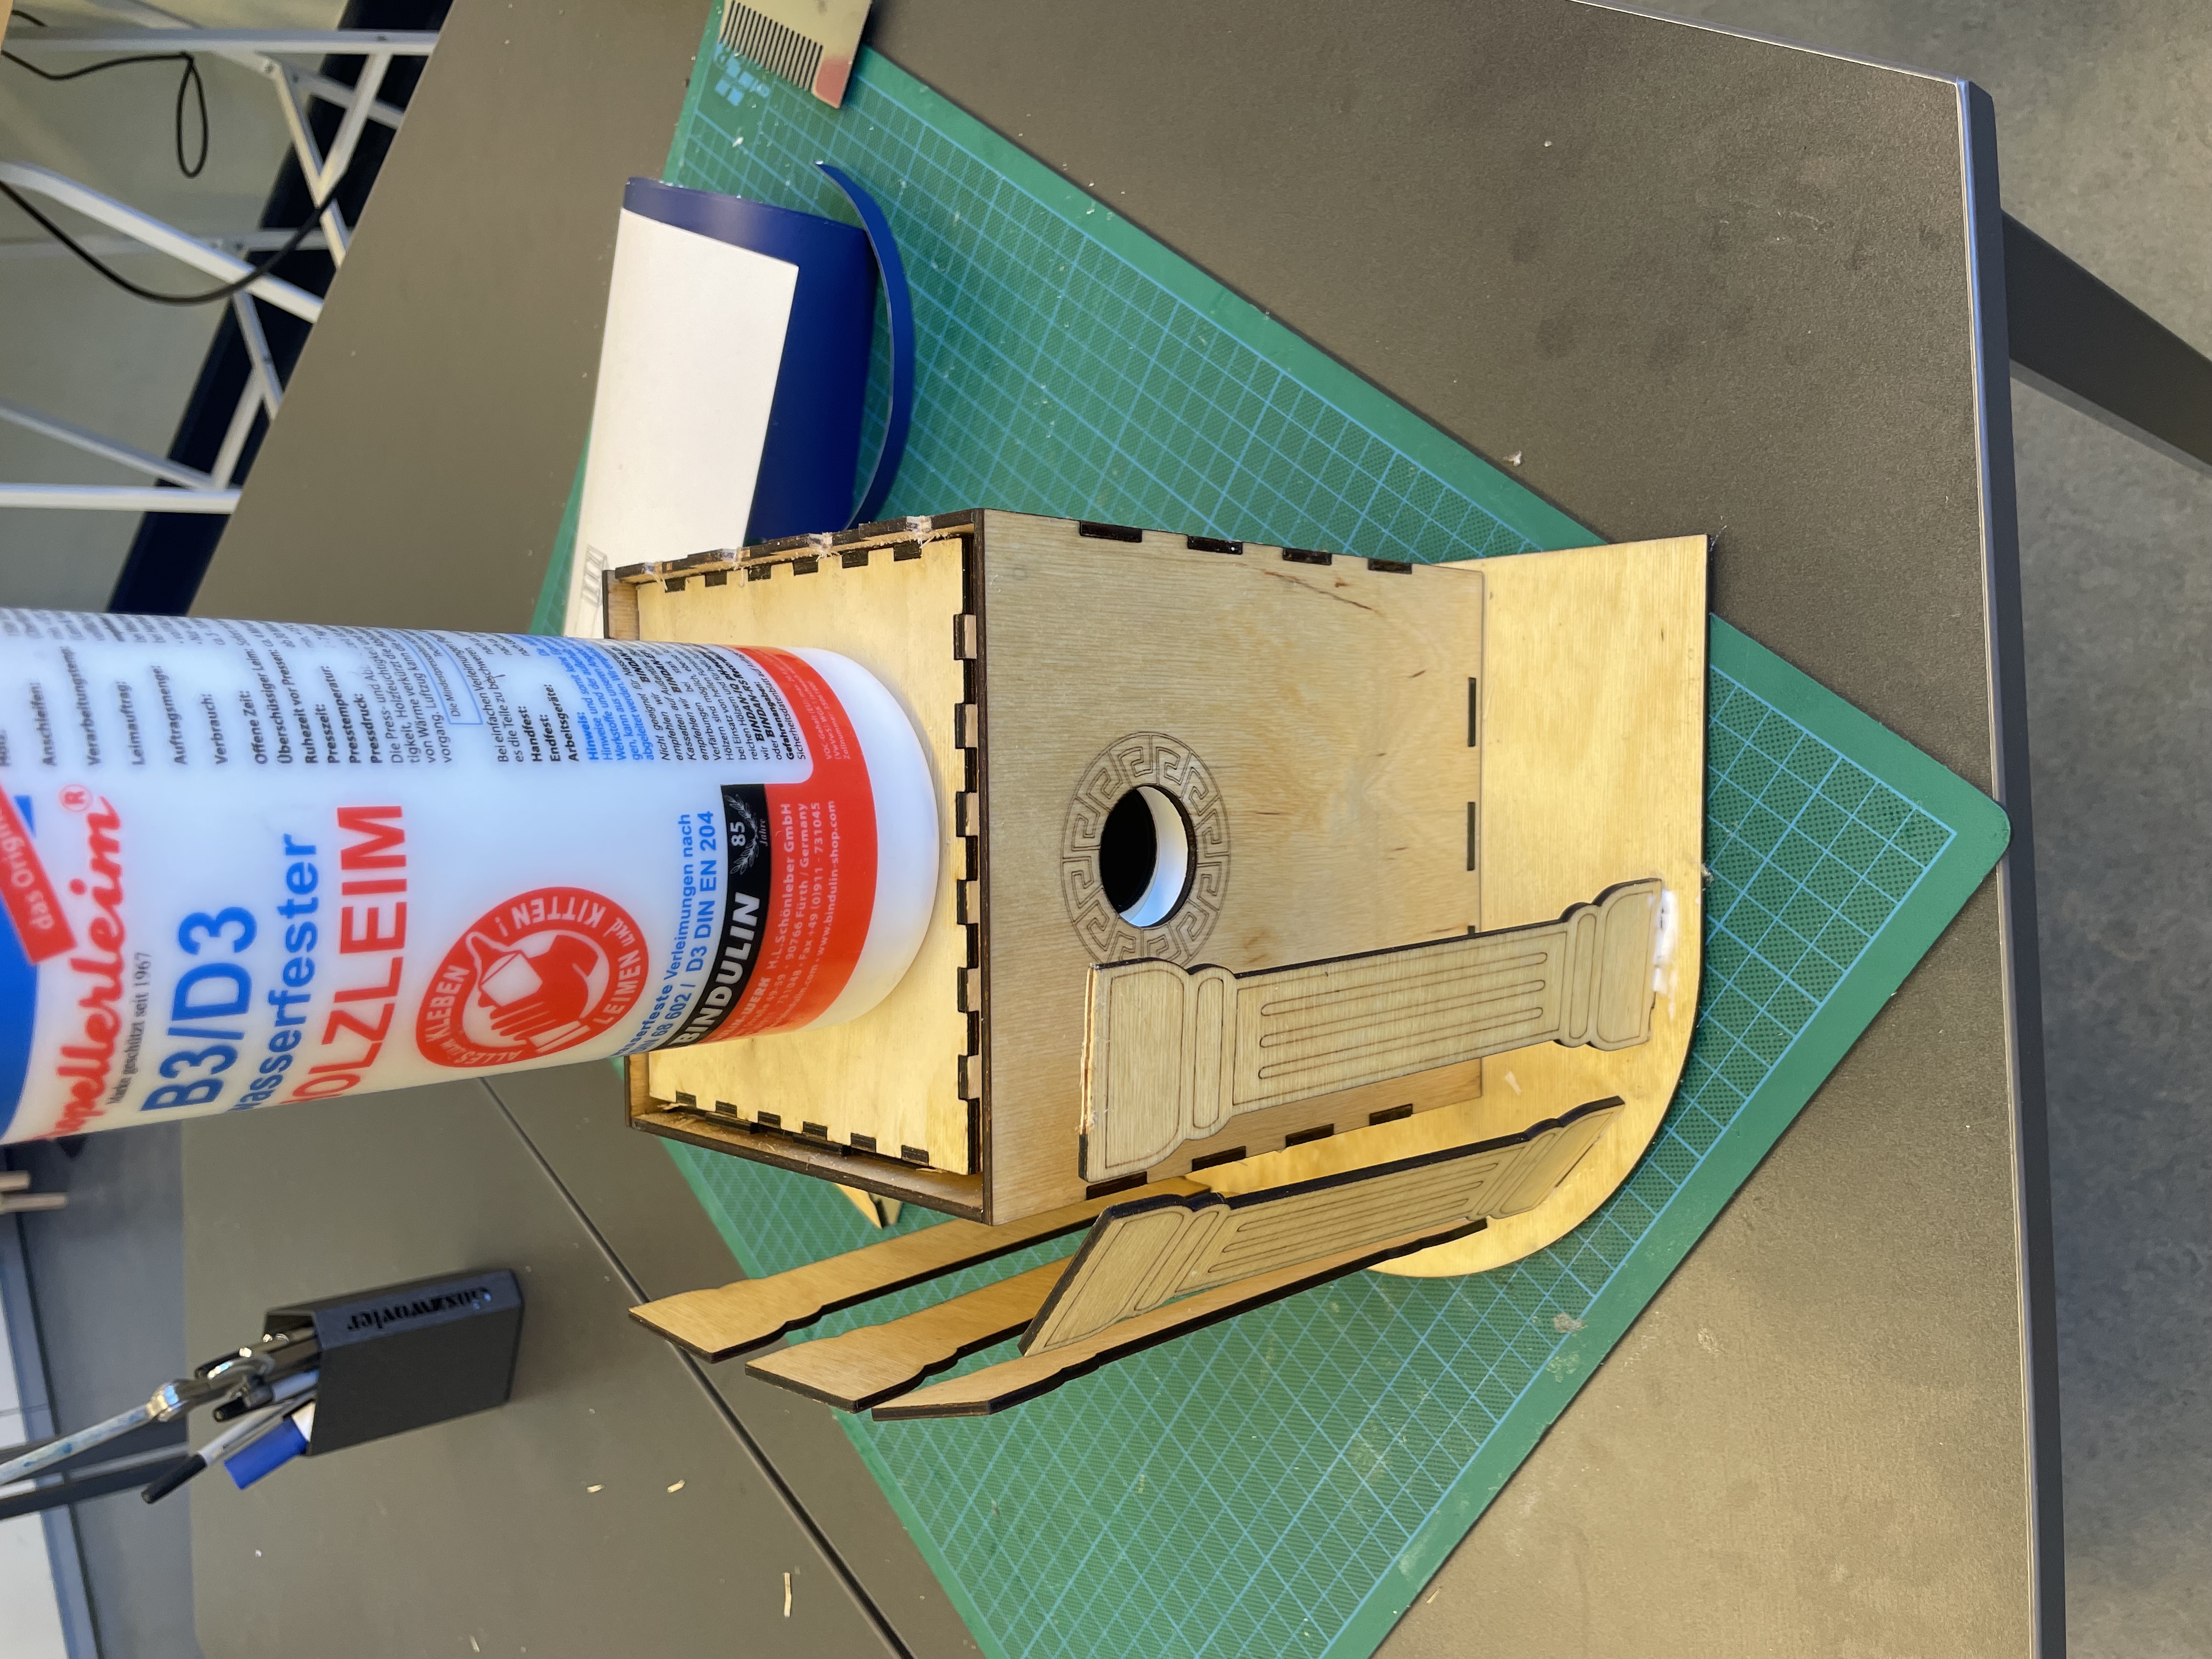
Assembling the birdhouse with wood glue
-
Weatherproofing the birdhouse with protective oil
-
Finished Vogelvillen curing before installation